
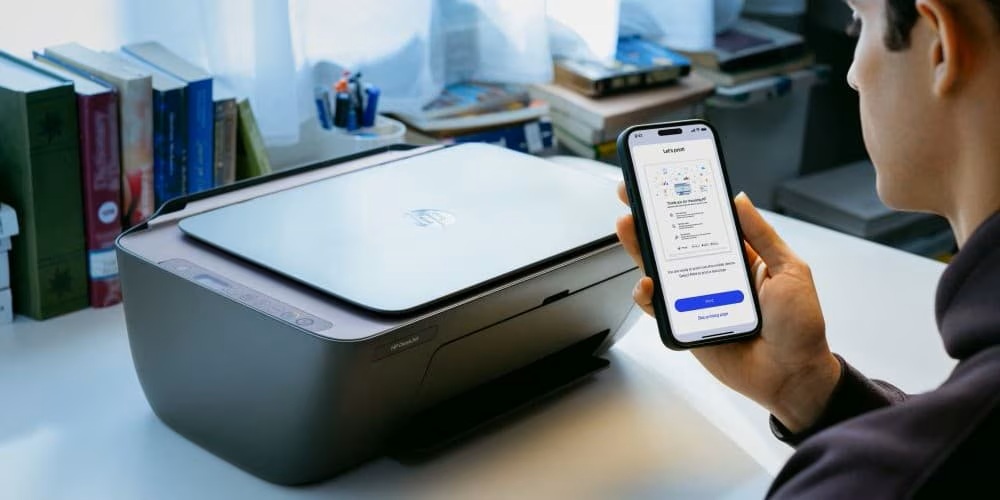
A wireless printer makes printing more convenient by allowing you to print from your computer, laptop, tablet, or smartphone without using a cable. Once connected to your Wi-Fi network, multiple devices can access the printer, making it a great choice for both homes and offices.
Setting up a new wireless printer may seem difficult at first, but the process is usually simple. Most modern printers include built-in wireless features that allow them to connect to your network quickly. After connecting the printer to Wi-Fi and installing the correct printer driver, you can begin printing from any compatible device on the same network.
Sometimes, users experience problems during setup because of an incorrect Wi-Fi password, weak wireless signals, outdated printer drivers, or network configuration issues. Fortunately, these problems are usually easy to fix with basic troubleshooting.
Prepare Your Printer
- Before starting the setup, remove all packaging materials from the printer.
- Install the ink or toner cartridges if required.
- Load paper into the paper tray.
- Plug the printer into a power outlet and turn it on.
- Allow the printer to complete its startup process.
Connect the Printer to Wi-Fi
- Open the wireless settings on the printer.
- Select your wireless network from the available list.
- Enter the correct Wi-Fi password.
- Wait for the printer to confirm that it has successfully connected to the network.
- A stable Wi-Fi connection is essential for reliable printing.
Place the Printer Near the Router
- During the initial setup, keep the printer close to your wireless router.
- A stronger signal helps the printer connect more quickly and reduces the chance of connection failures.
- After setup is complete, you can move the printer to a convenient location if the wireless signal remains strong.
Install the Printer Driver
- Your computer needs the correct printer driver to communicate with the printer.
- Install the latest driver that matches your printer model and operating system.
- Complete the installation process and restart your computer if prompted.
- An updated driver helps improve compatibility and performance.
Add the Printer to Your Computer
- Open the printer settings on your computer.
- Search for available printers on the network.
- Select your wireless printer from the list.
- Complete the setup and make the printer your default printer if desired.
Print a Test Page
- After the installation is complete, print a test page.
- A successful test confirms that the computer and printer are communicating correctly.
- If the page prints properly, the setup is complete.
Connect Additional Devices
- Once the printer is connected to your wireless network, you can add it to other computers or mobile devices connected to the same Wi-Fi network.
- Repeat the printer installation process on each device if necessary.
Update the Printer Driver
- Keeping the printer driver updated helps improve compatibility, security, and performance.
- Regular updates also reduce the risk of printing and communication problems.
Install Operating System Updates
- Updated operating system software helps your computer communicate properly with the printer.
- Check for available updates and install them if necessary.
- Restart your computer after completing the updates.
Common Problems During Wireless Printer Setup
Sometimes the setup process does not go as expected.
Common causes include:
- Incorrect Wi-Fi password.
- Weak wireless signal.
- Printer too far from the router.
- Outdated printer driver.
- Damaged printer driver.
- Network configuration problems.
- Temporary software conflicts.
- Operating system compatibility issues.
- Incorrect printer settings.
- Firewall restrictions.
- Router communication issues.
- Printer detection problems.
Reviewing these possibilities helps identify setup problems more quickly.
Tips for a Successful Wireless Printer Setup
Following a few simple practices can make setup easier.
- Keep the printer close to the router during setup.
- Use the correct Wi-Fi password.
- Install the latest printer driver.
- Keep your operating system updated.
- Maintain a stable wireless network.
- Restart the printer if setup fails.
- Restart your router if necessary.
- Print a test page after installation.
These habits help ensure a smooth and reliable setup.
FAQs
How do I connect my new wireless printer to Wi-Fi?
Open the printer’s wireless settings, choose your Wi-Fi network, enter the correct password, and wait for the connection to complete.
Why can’t my computer find my wireless printer?
This may happen because of a weak Wi-Fi signal, incorrect network settings, outdated printer drivers, or the printer not being connected to the same network.
Do I need a printer driver?
Yes. The printer driver allows your computer to communicate with the printer and access its features.
Should I keep my printer close to the router during setup?
Yes. A stronger wireless signal helps the printer connect more easily during the initial setup.
Why should I print a test page?
A test page confirms that the printer has been installed correctly and is communicating with your computer.
When should I get printer help?
Additional printer help may be useful if your wireless printer cannot connect or print after completing the recommended setup and troubleshooting steps.
Conclusion
Setting up a new wireless printer is usually a straightforward process when each step is followed carefully. Preparing the printer, connecting it to your Wi-Fi network, installing the correct printer driver, adding the printer to your computer, and printing a test page help ensure a successful installation.
Keeping the printer driver and operating system updated, maintaining a stable wireless connection, and placing the printer within range of your router can prevent many common setup issues.